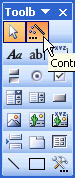
Start with a blank form in design view and then click
on the toolbox icon. In the toolbox there is a small box
with an XYZ.

Go ahead and click that box. Provided you have
Wizards turned on (they're on by default--- if you need
to turn the Wizards on check out this month's tip) you'll
see the dialog box below:

On the screen, enter the labels that you would like to
appear as choices in the option group.
I'm going to use Summer Camp Departments as my
example. Once you enter your label names in the
order you want them listed, click Next and you'll get the
dialog box below.

As you can see, Access has assigned values to each
label. These values are what are selected behind the
scenes when the user makes a choice in the option
group. By default Access will use numbers as the
values stored. You could change these to something
else (e.g. the label names), however I recommend
you use numbers since they are easier to manipulate
and more efficient to work with.
When you click next again, you'll get the dialog box
below, which invites you to designate a default value.

Although you may skip assigning a default value, I
recommend that choose a default since the use of the
option box implies that something will be chosen. If
you have a situation where the user may want to
deliberately not choose one of the choices, it makes
sense to include an option such as All or None. That
way, the option group will always return a value you
can work with.
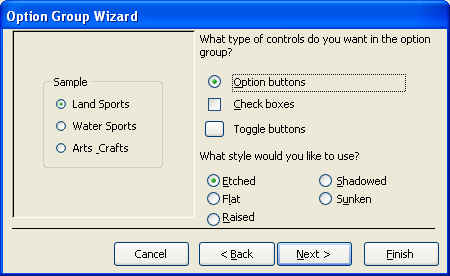
When you hit Next again, you'll see the screen below
which will allow you to make some style choices. At
this point you may want to play around a bit to see
what appeals to you and your users.
Click next again and you'll get an option that allows
you to put a title on your option group. Finally hit Finish
and your form will be similar to the picture below.